

HOW TO BUILD AN IRRESISTIBLE SENSORY BIN
+ FREE KINETIC SAND RECIPE!
Have you ever stopped to marvel that your children have been seeing, hearing, smelling, tasting and touching since the day they were born? Most of us think about our children's first steps or first words, but not so much about the senses they have been using their whole lives.
Children are wired to receive sensory input from day one. Using their senses is the most familiar, basic way for children to explore, process, and understand new information. Sensory play, therefore, allows children to optimize this natural learning method.
Creating a customized sensory bin for your kids will inspire sensory play, and it’s so easy! Just follow these three steps—with materials you probably already have lying your house—and revel in the (quiet!) independent play that is sure to follow.
Three Steps to an Irresistible Sensory Bin:
1. CHOOSE A STURDY CONTAINER
Harmony’s favorite container is a large, plastic under-the-bed box, which contains the mess, is easy to tuck under—you guessed it—the bed, and allows for a full-body experience if your child is so inclined. Some kids are, some kids aren’t—you’ll find out as soon as you present a sensory experience in this size bin!
Alternative containers include a plastic shoe box, an oil drip pan, a dish pan, a baking dish (preferably unbreakable), a plant saucer, or even a cardboard or wooden box (just, of course, don’t fill cardboard or wood with water).


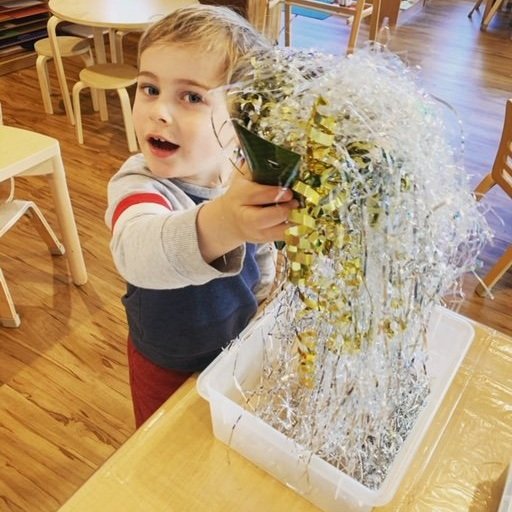
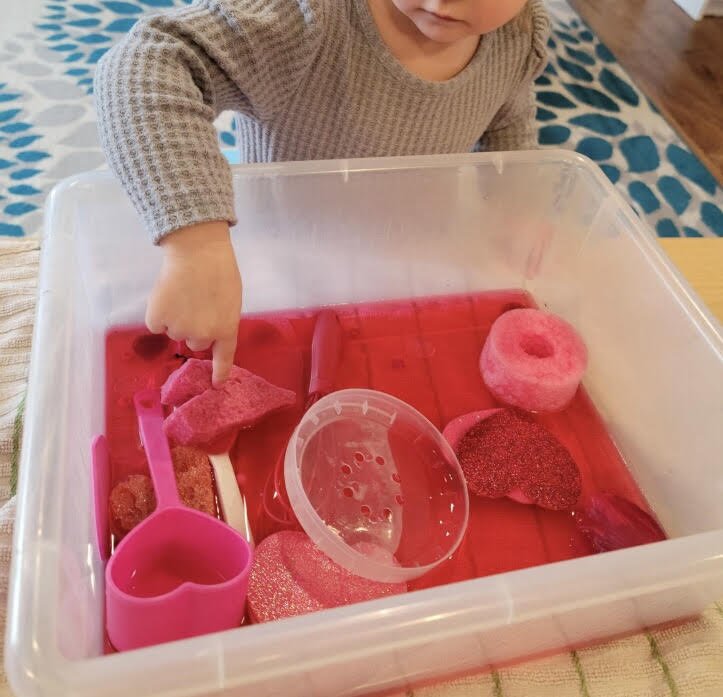
2. FILL WITH ONE INTRIGUING MATERIAL
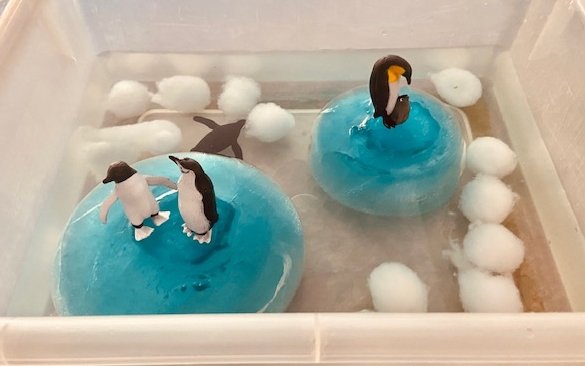
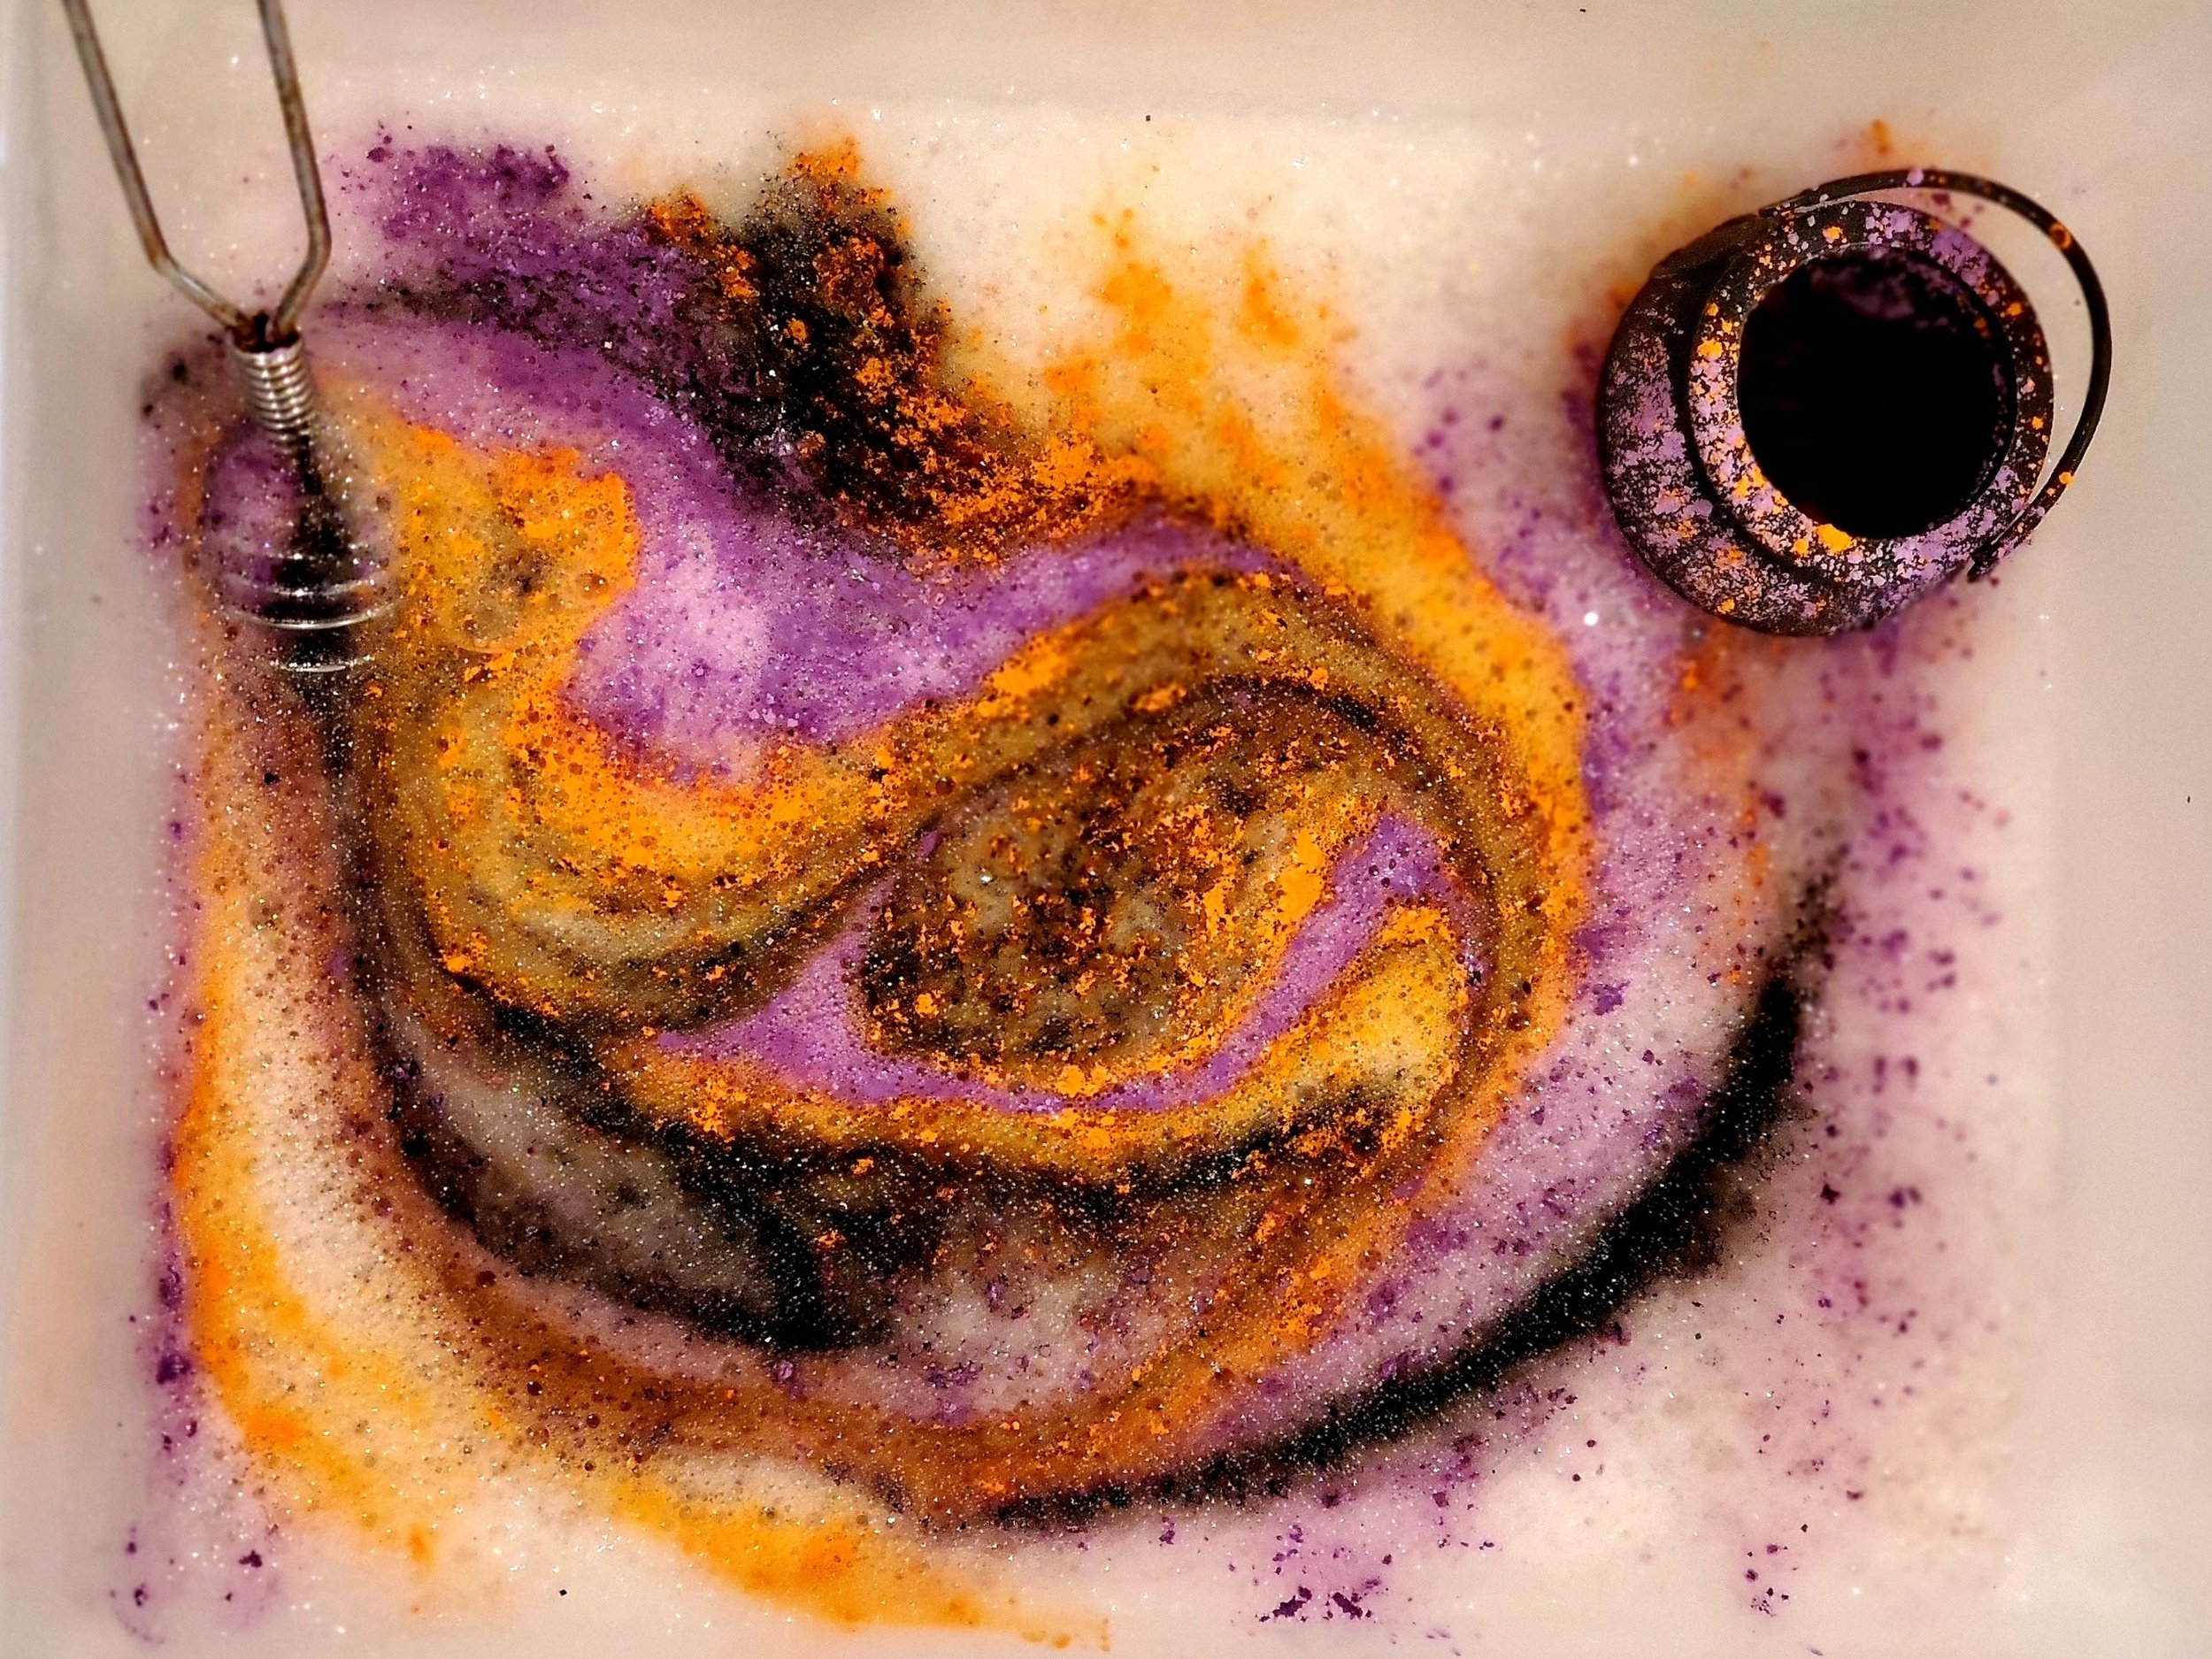
Water is always a hit! Add dish soap or bubble bath for bubbles, essential oils for scent, food coloring for color, and ice cubes for investigation.
Alternate container idea for a water sensory bin…the bathtub! Put your child in the tub in the middle of the day, fill with a medium amount of water, add a splash of bubble bath, bath puffs, nail brushes, and their favorite plastic animals…and watch her go to town scrubbing and cleaning those toys until they shine. Lost in her own world, your child may even tell stories if you're busy with something else nearby.
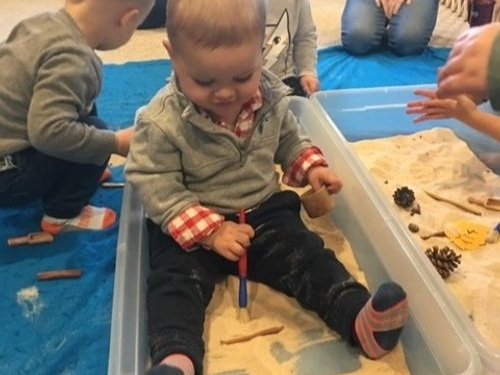
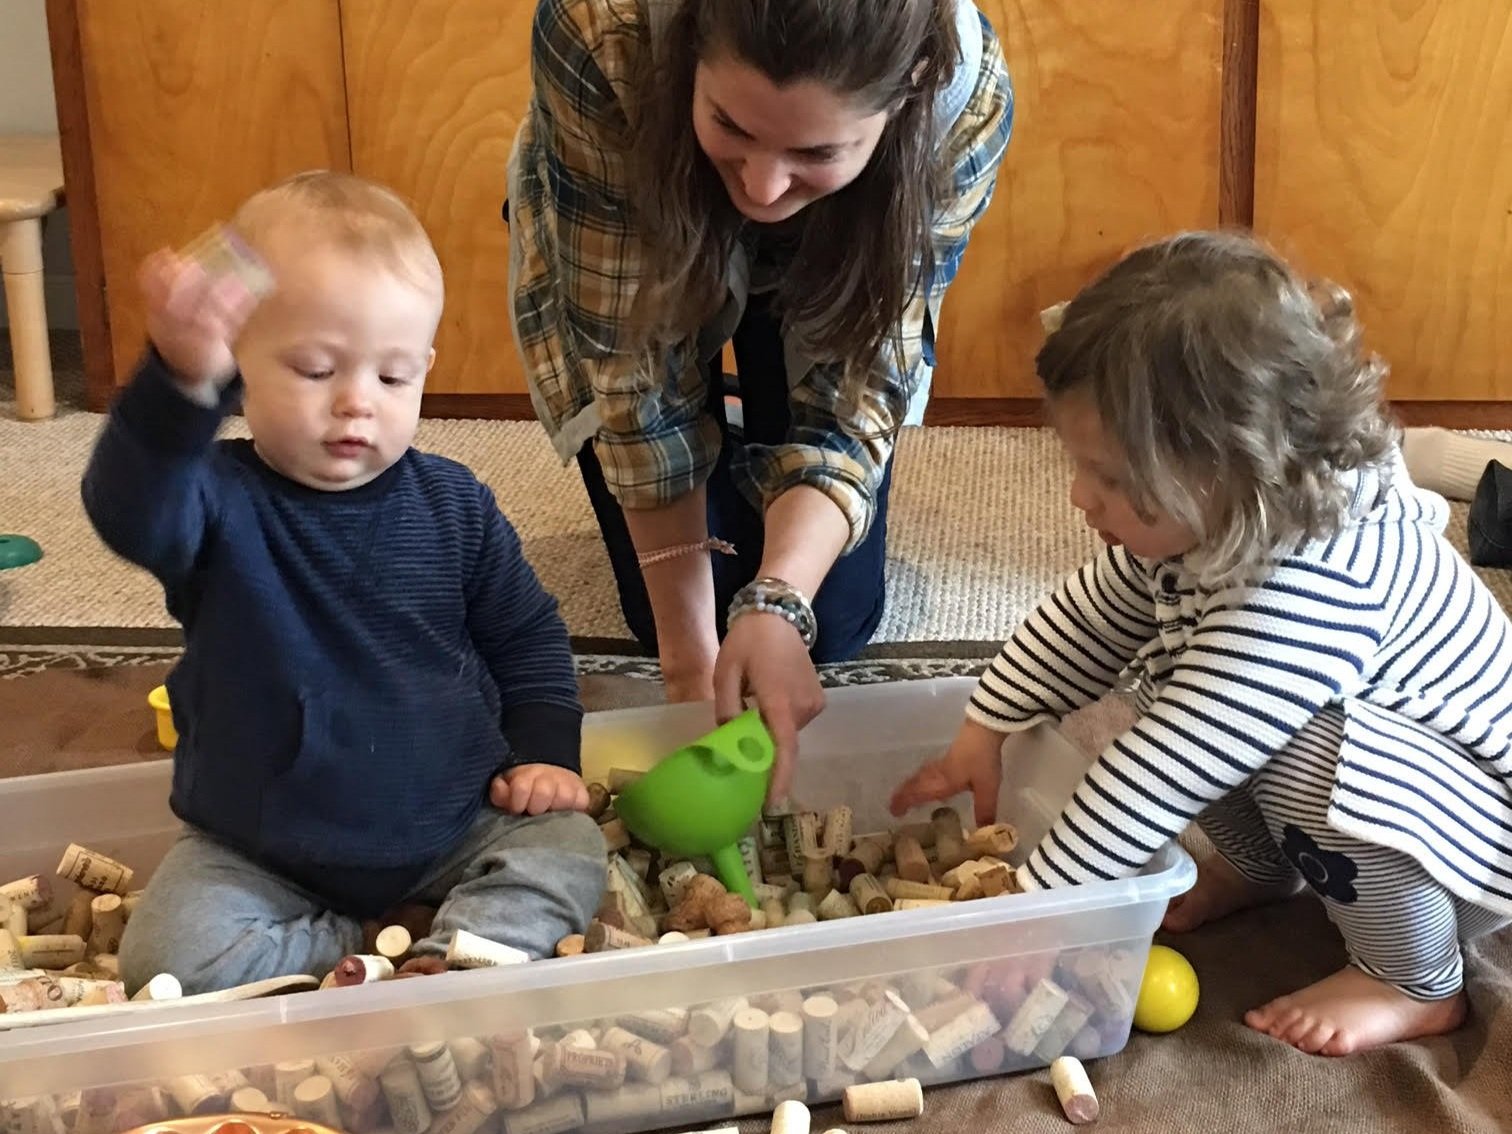
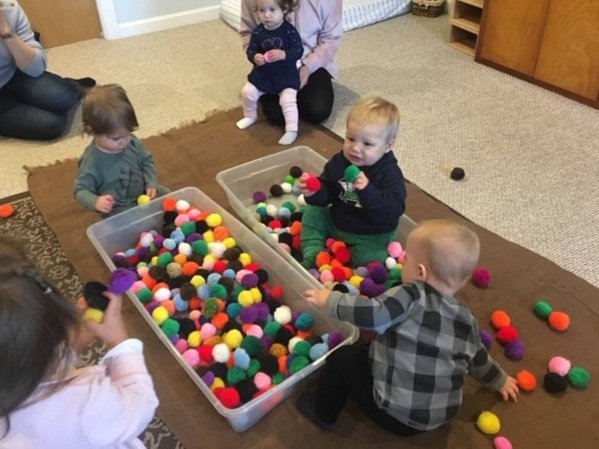
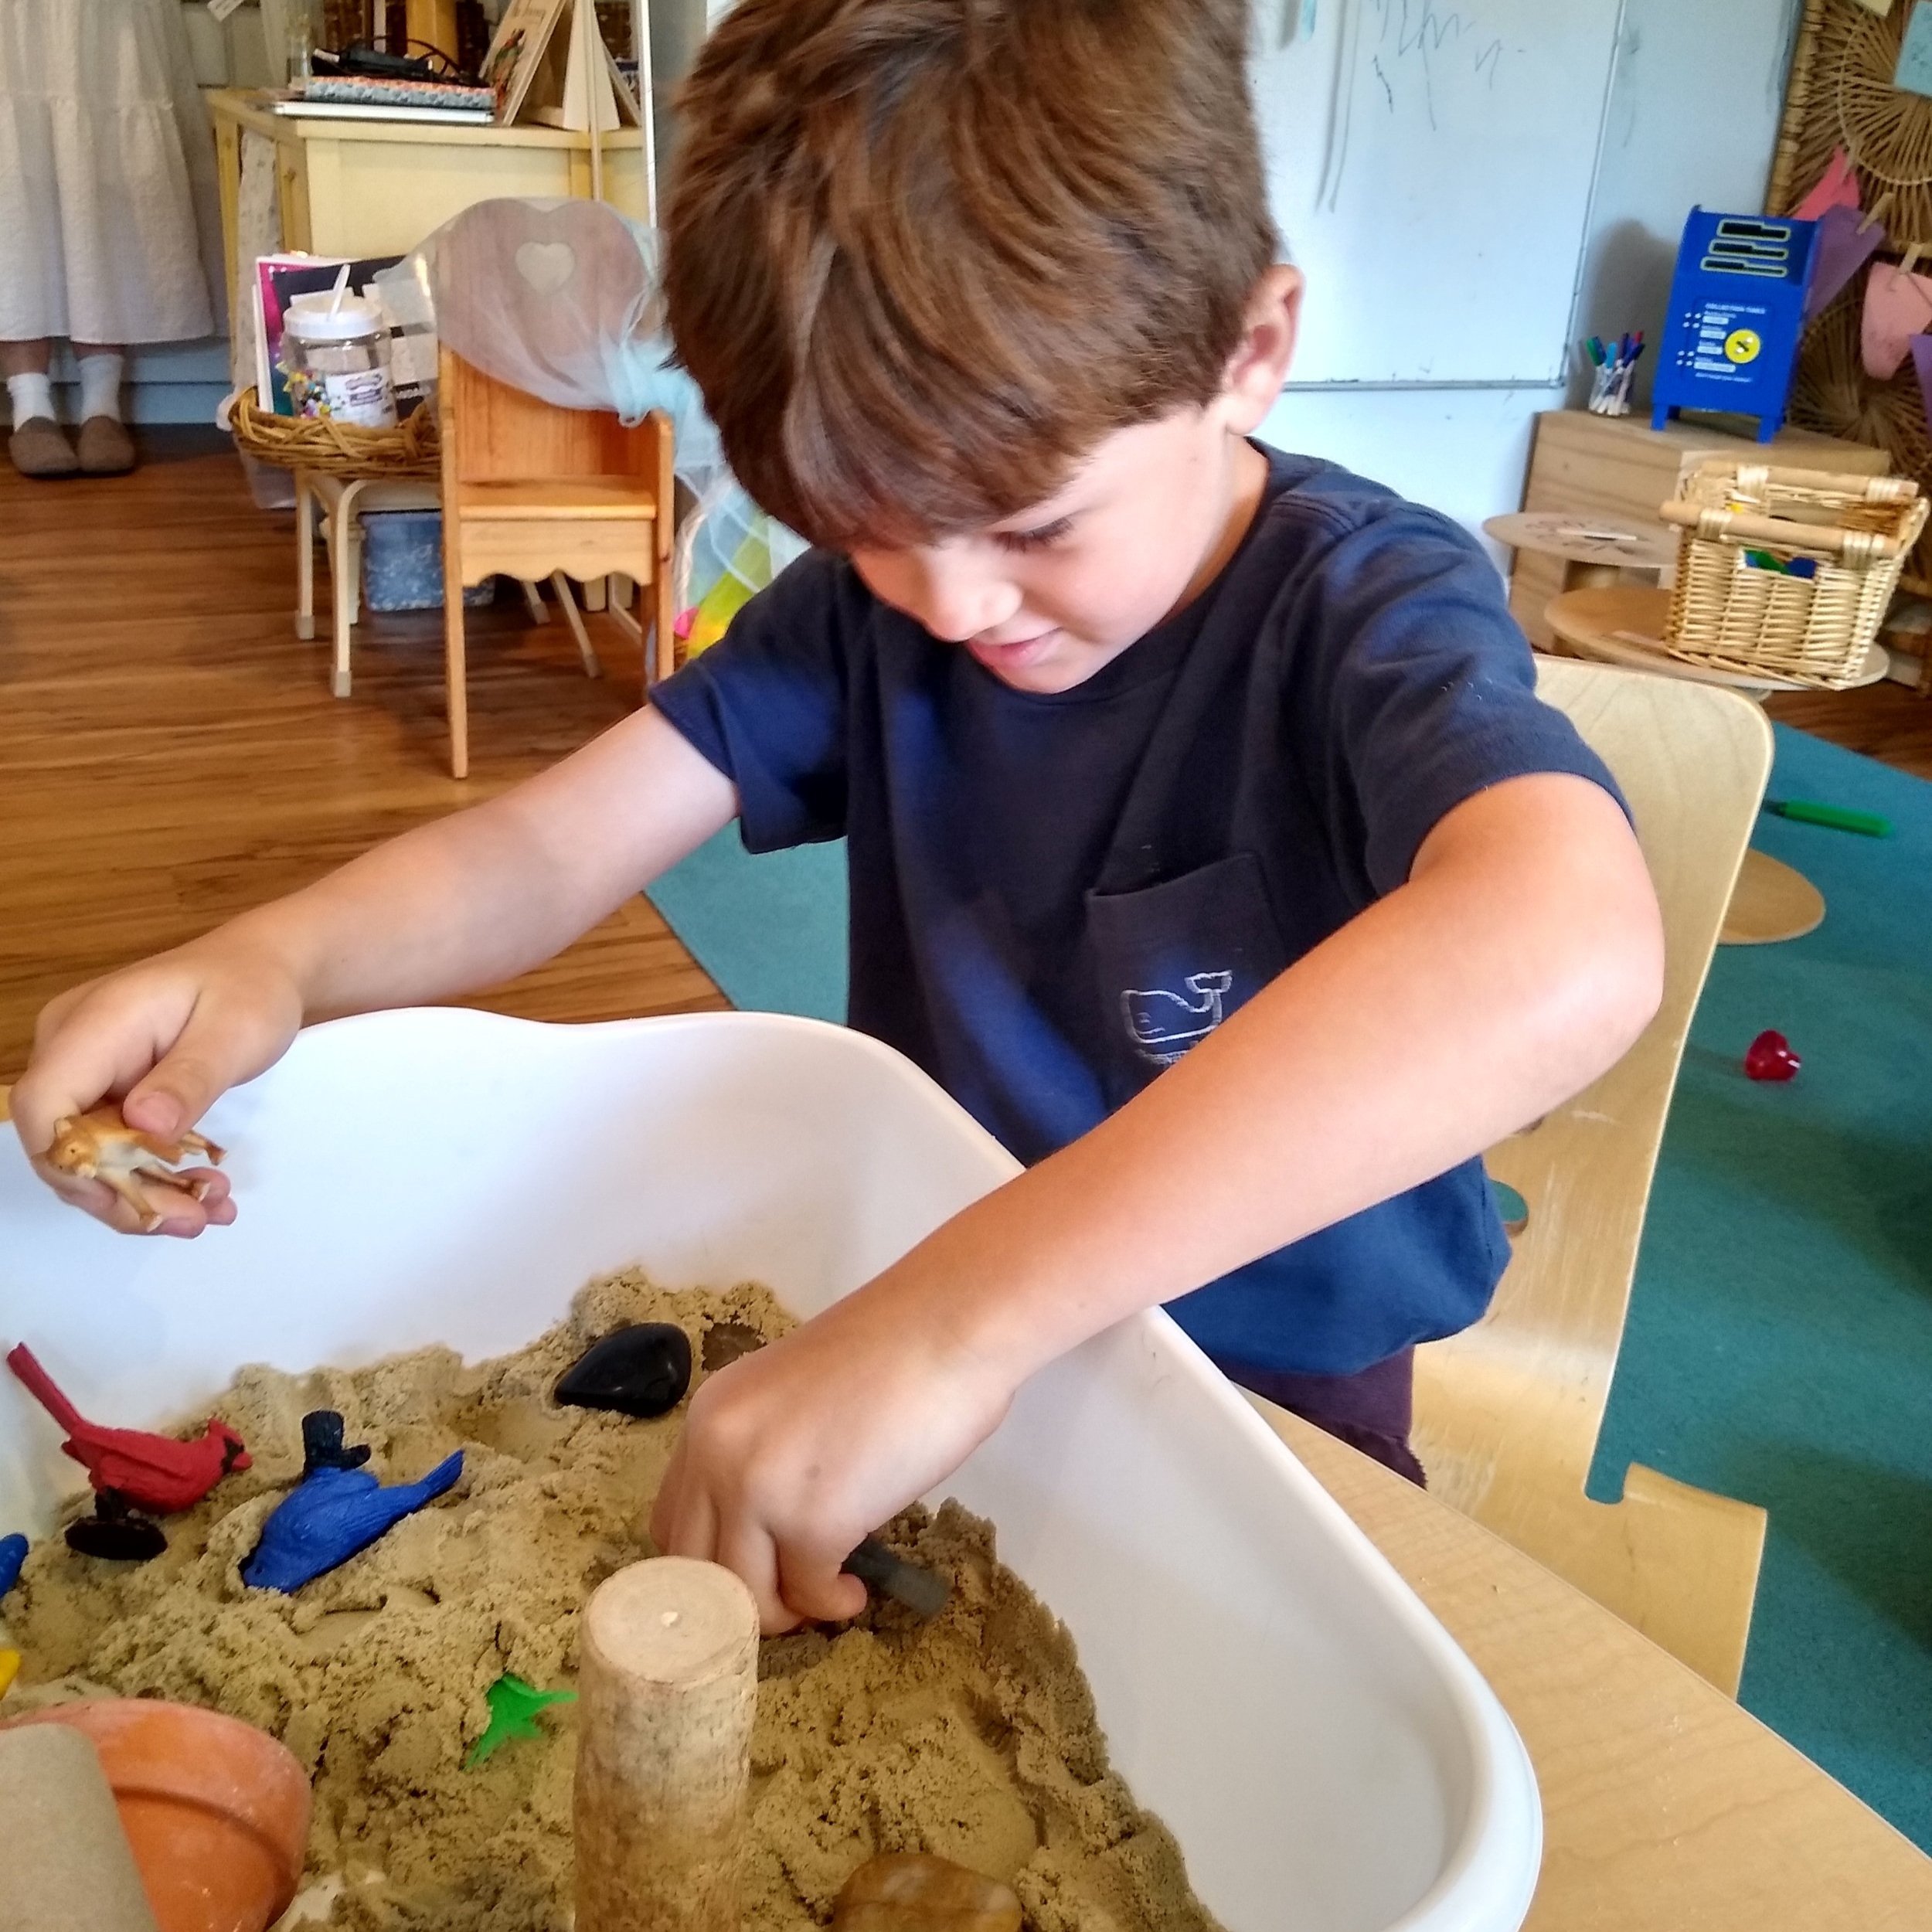
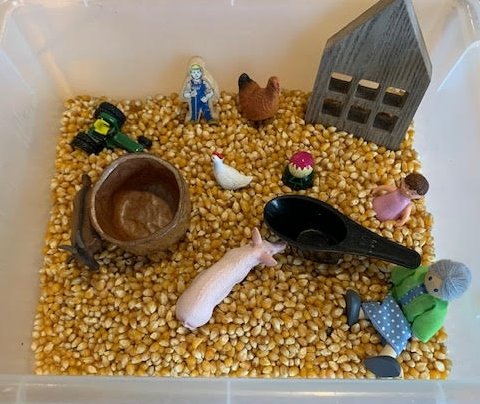
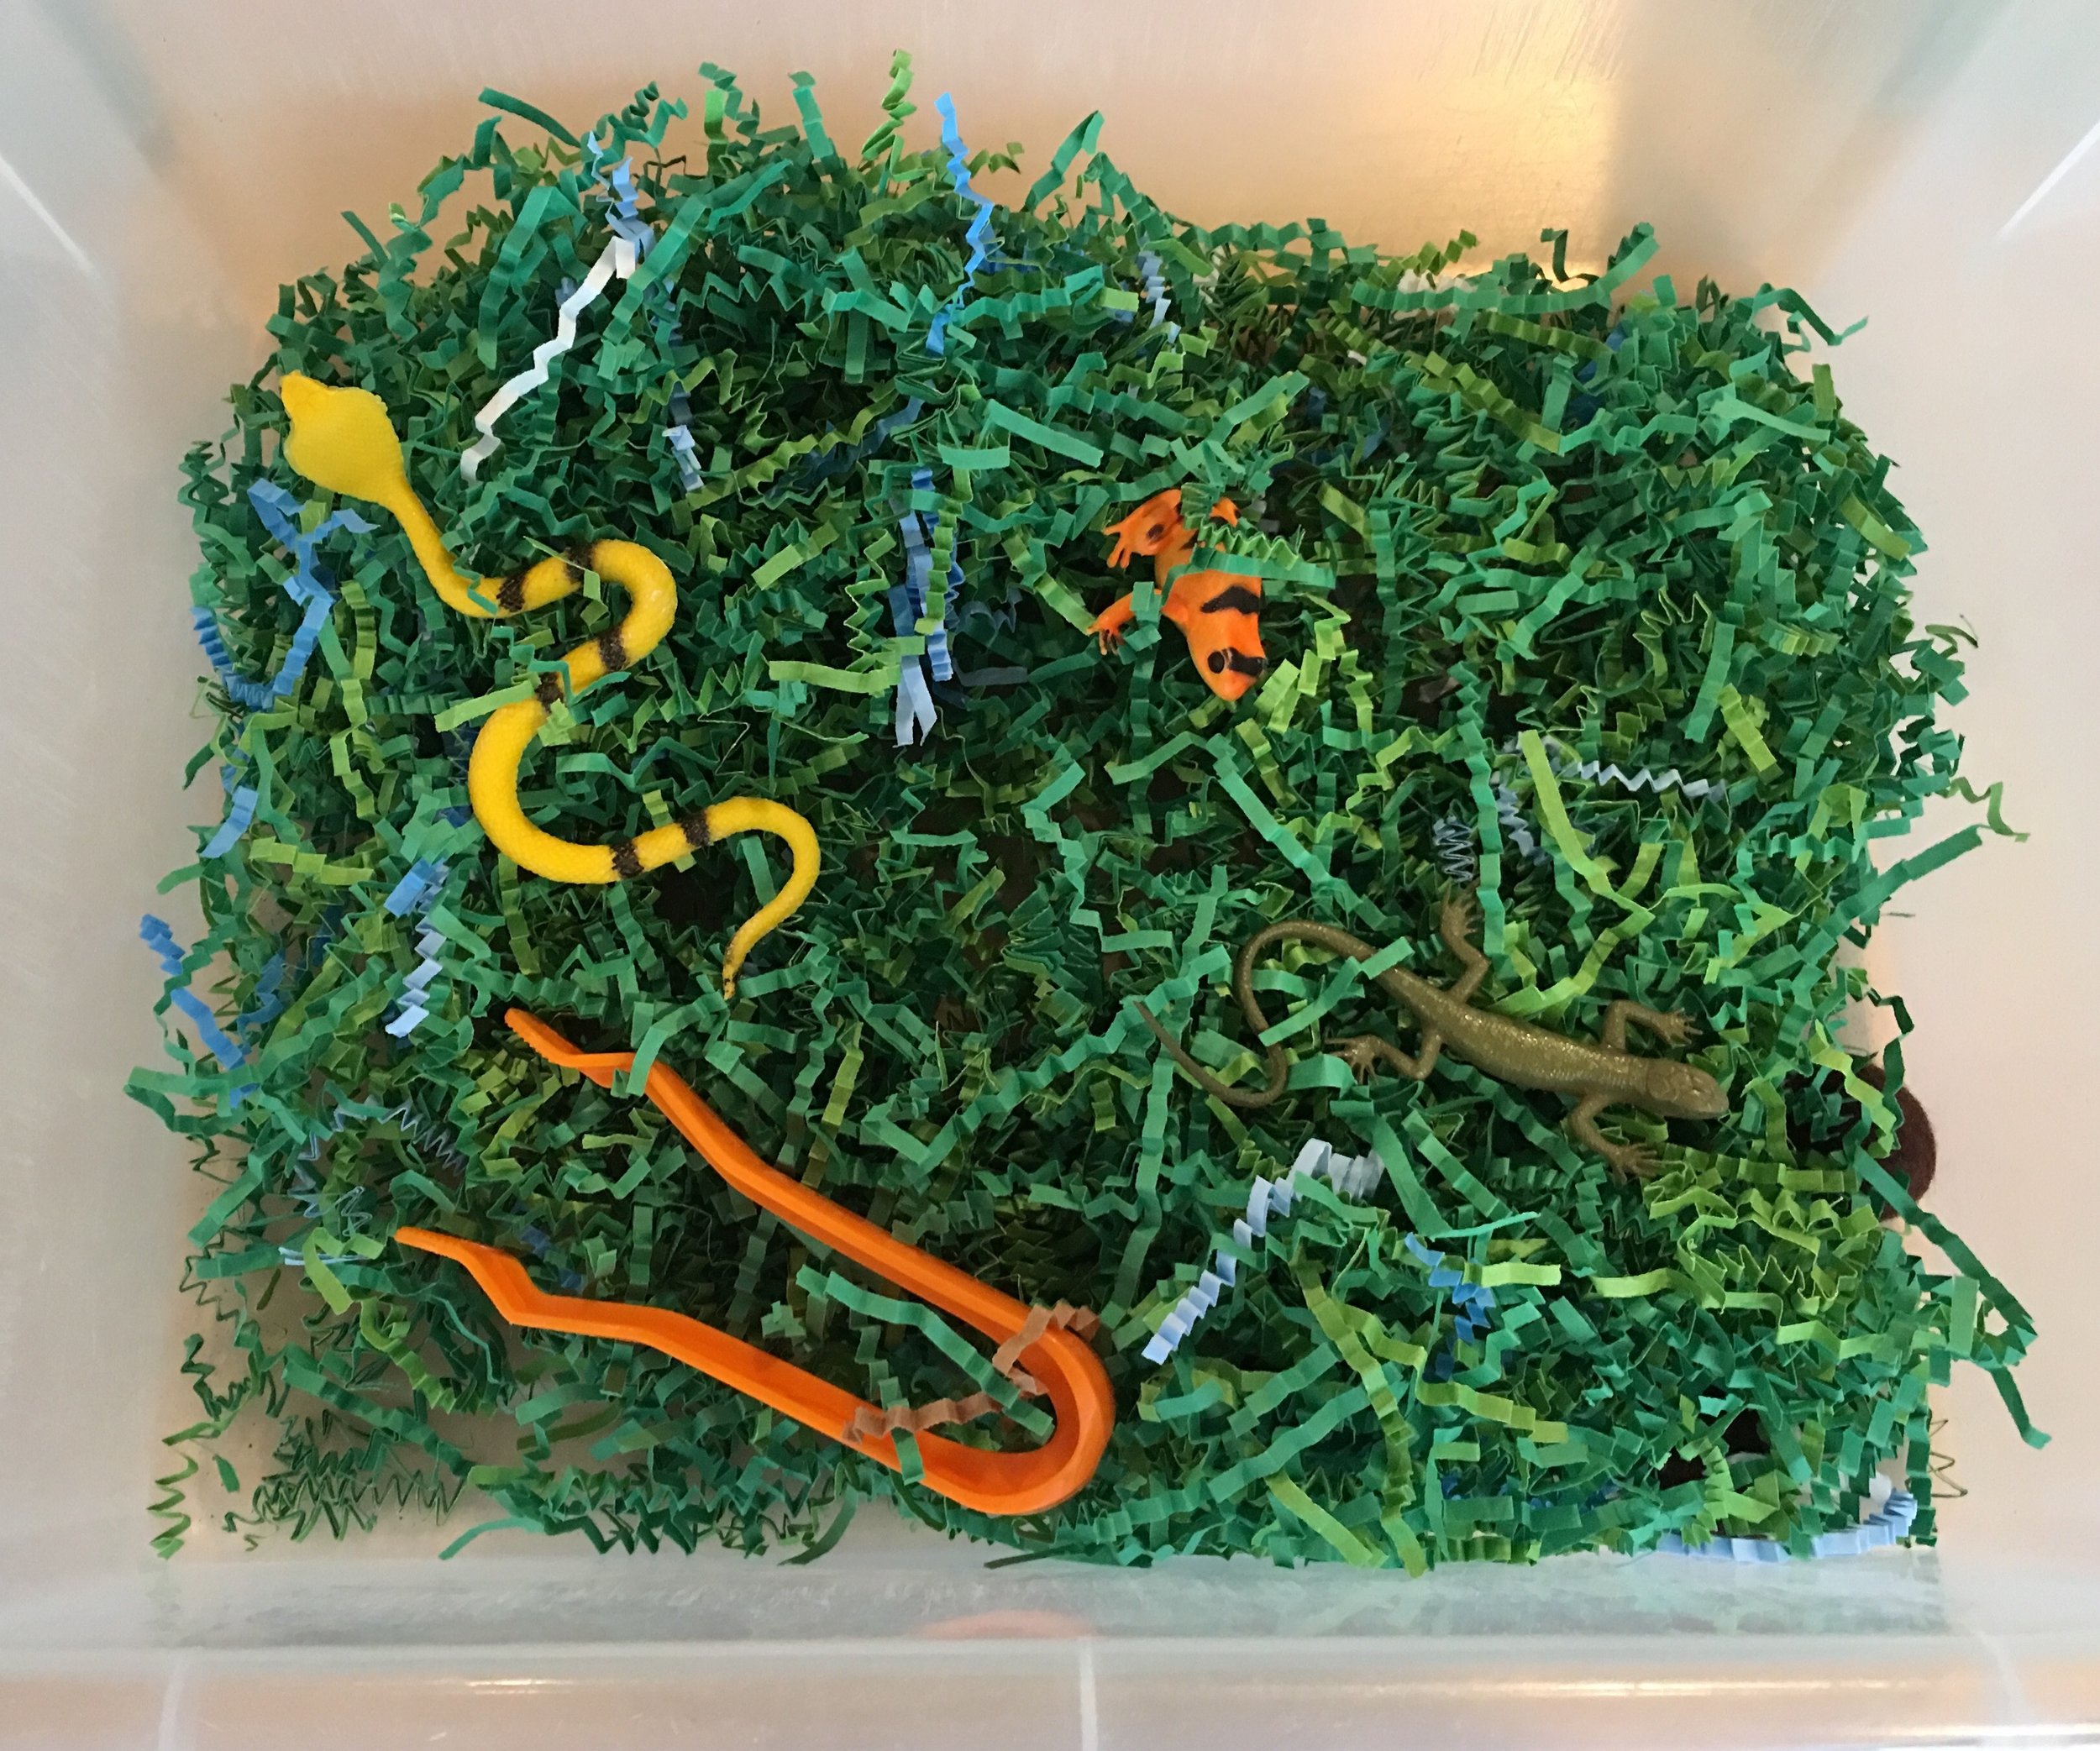
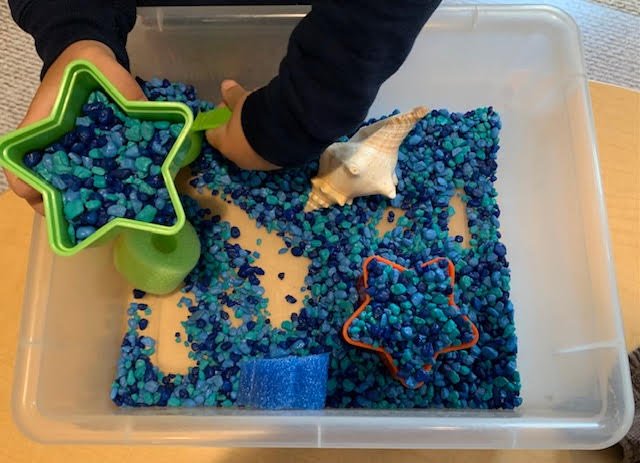
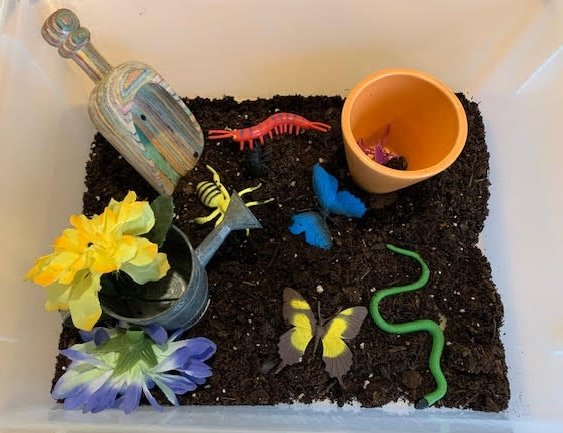
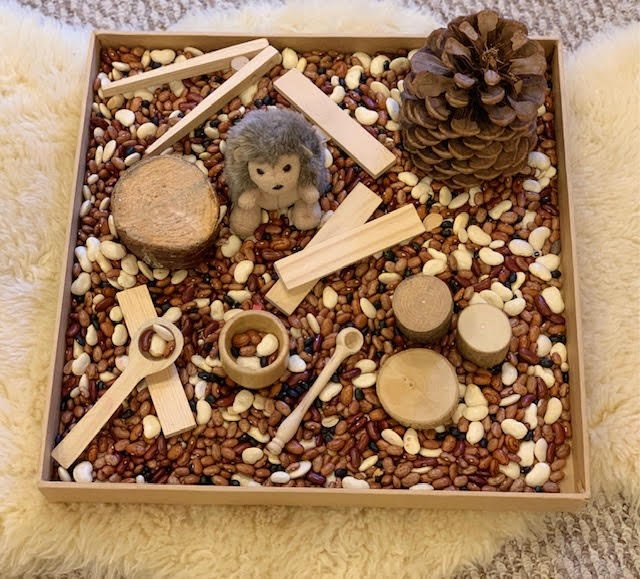
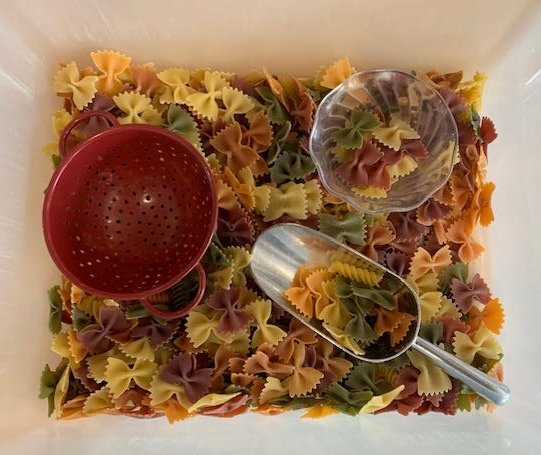
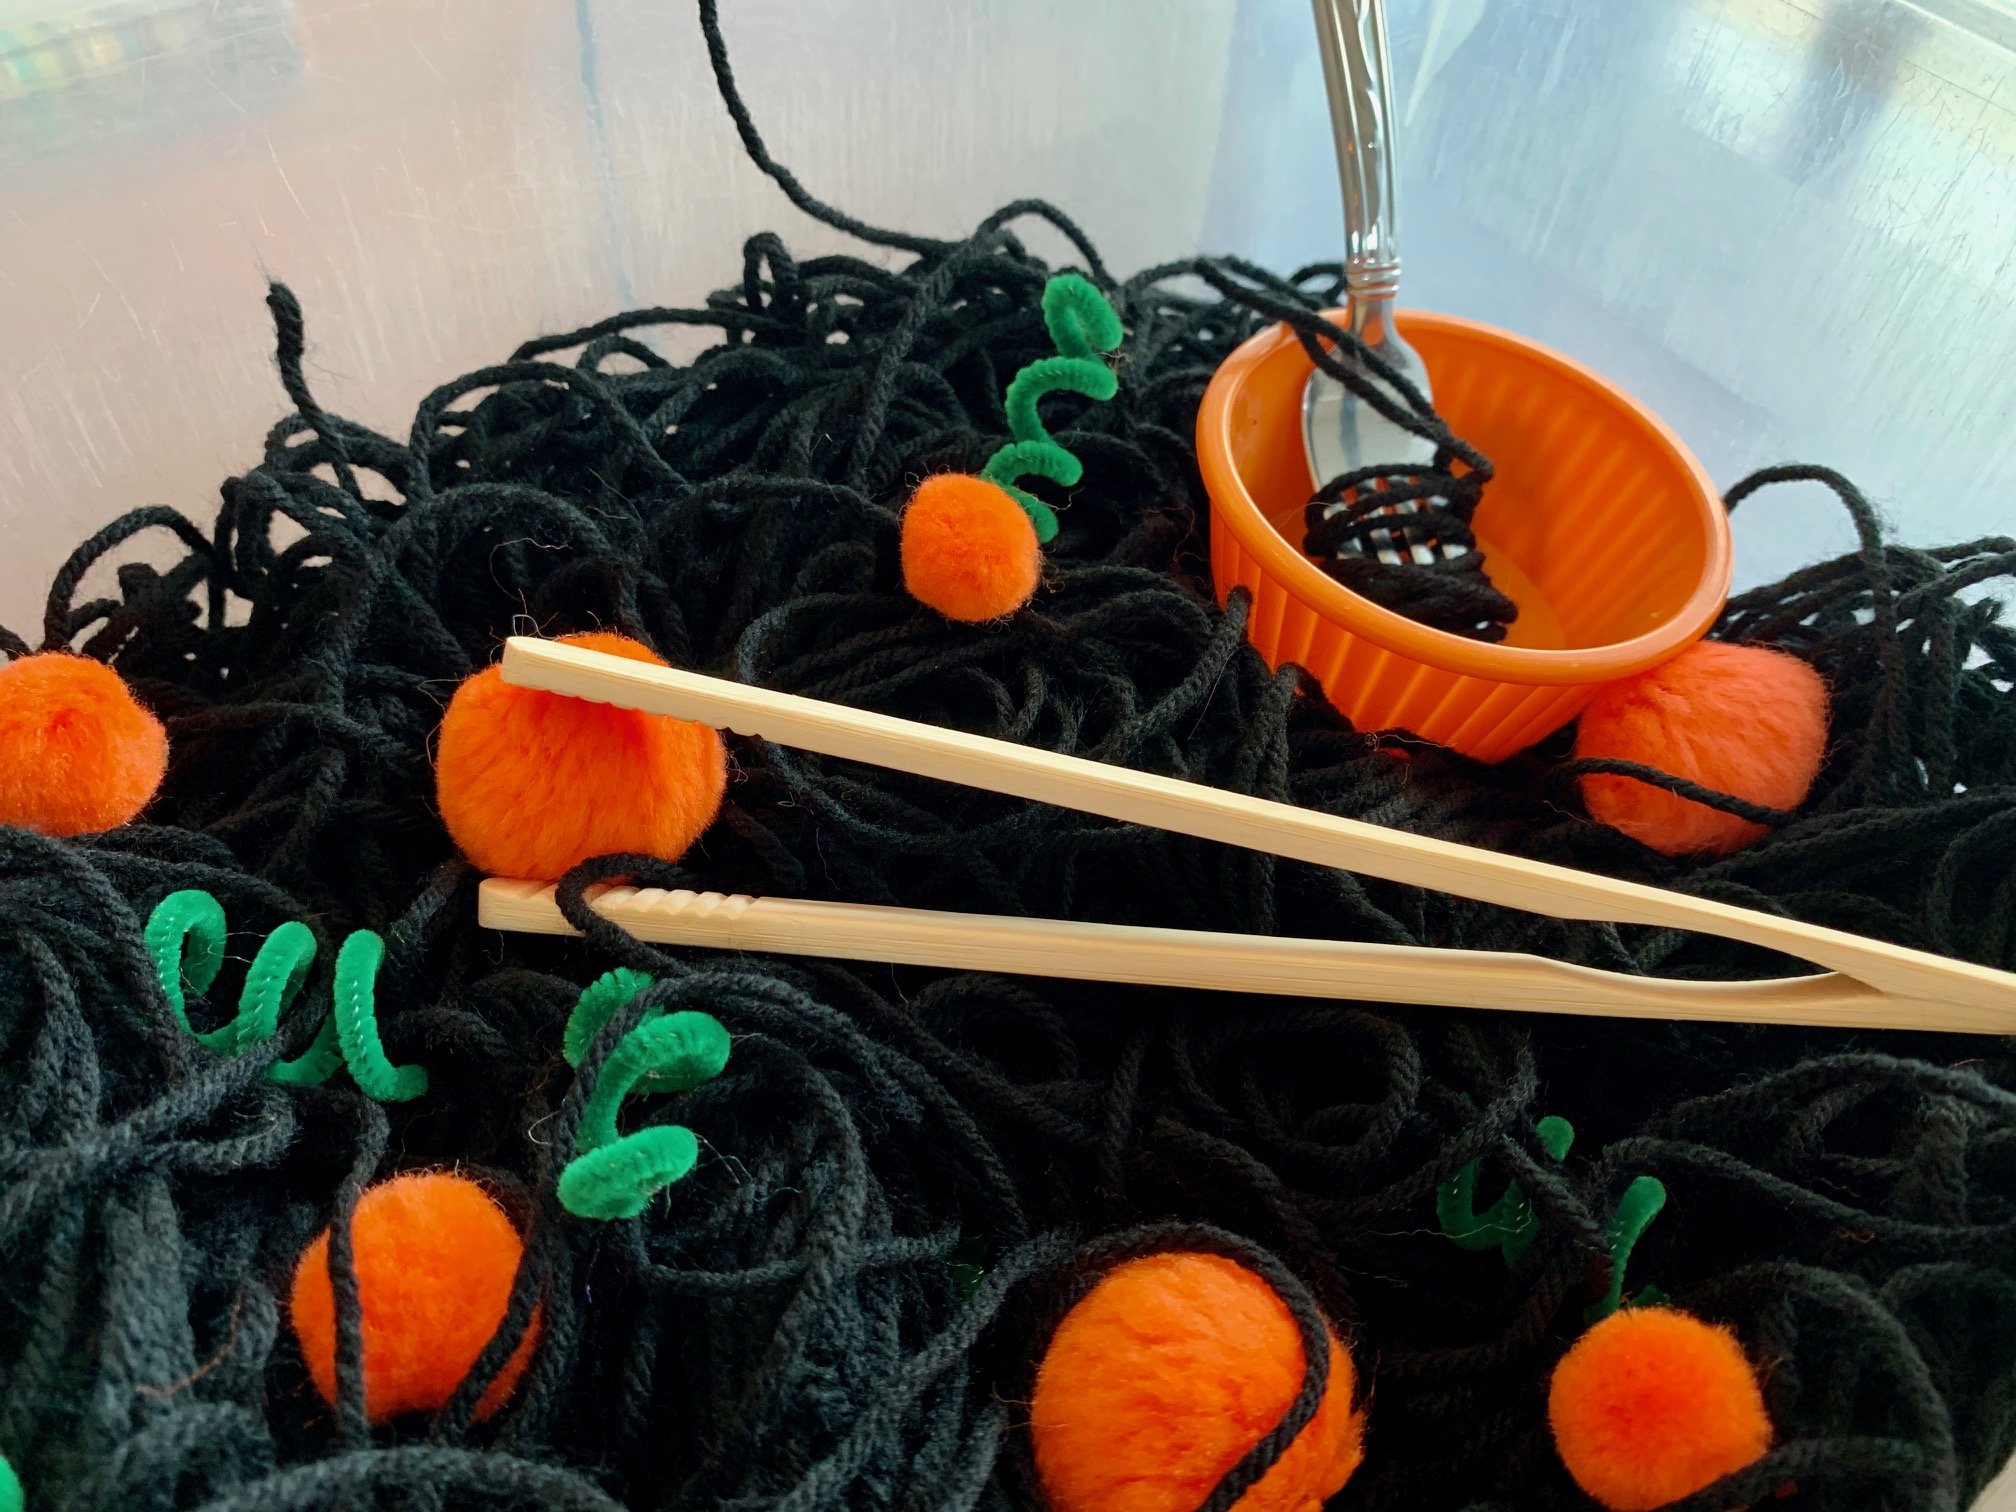
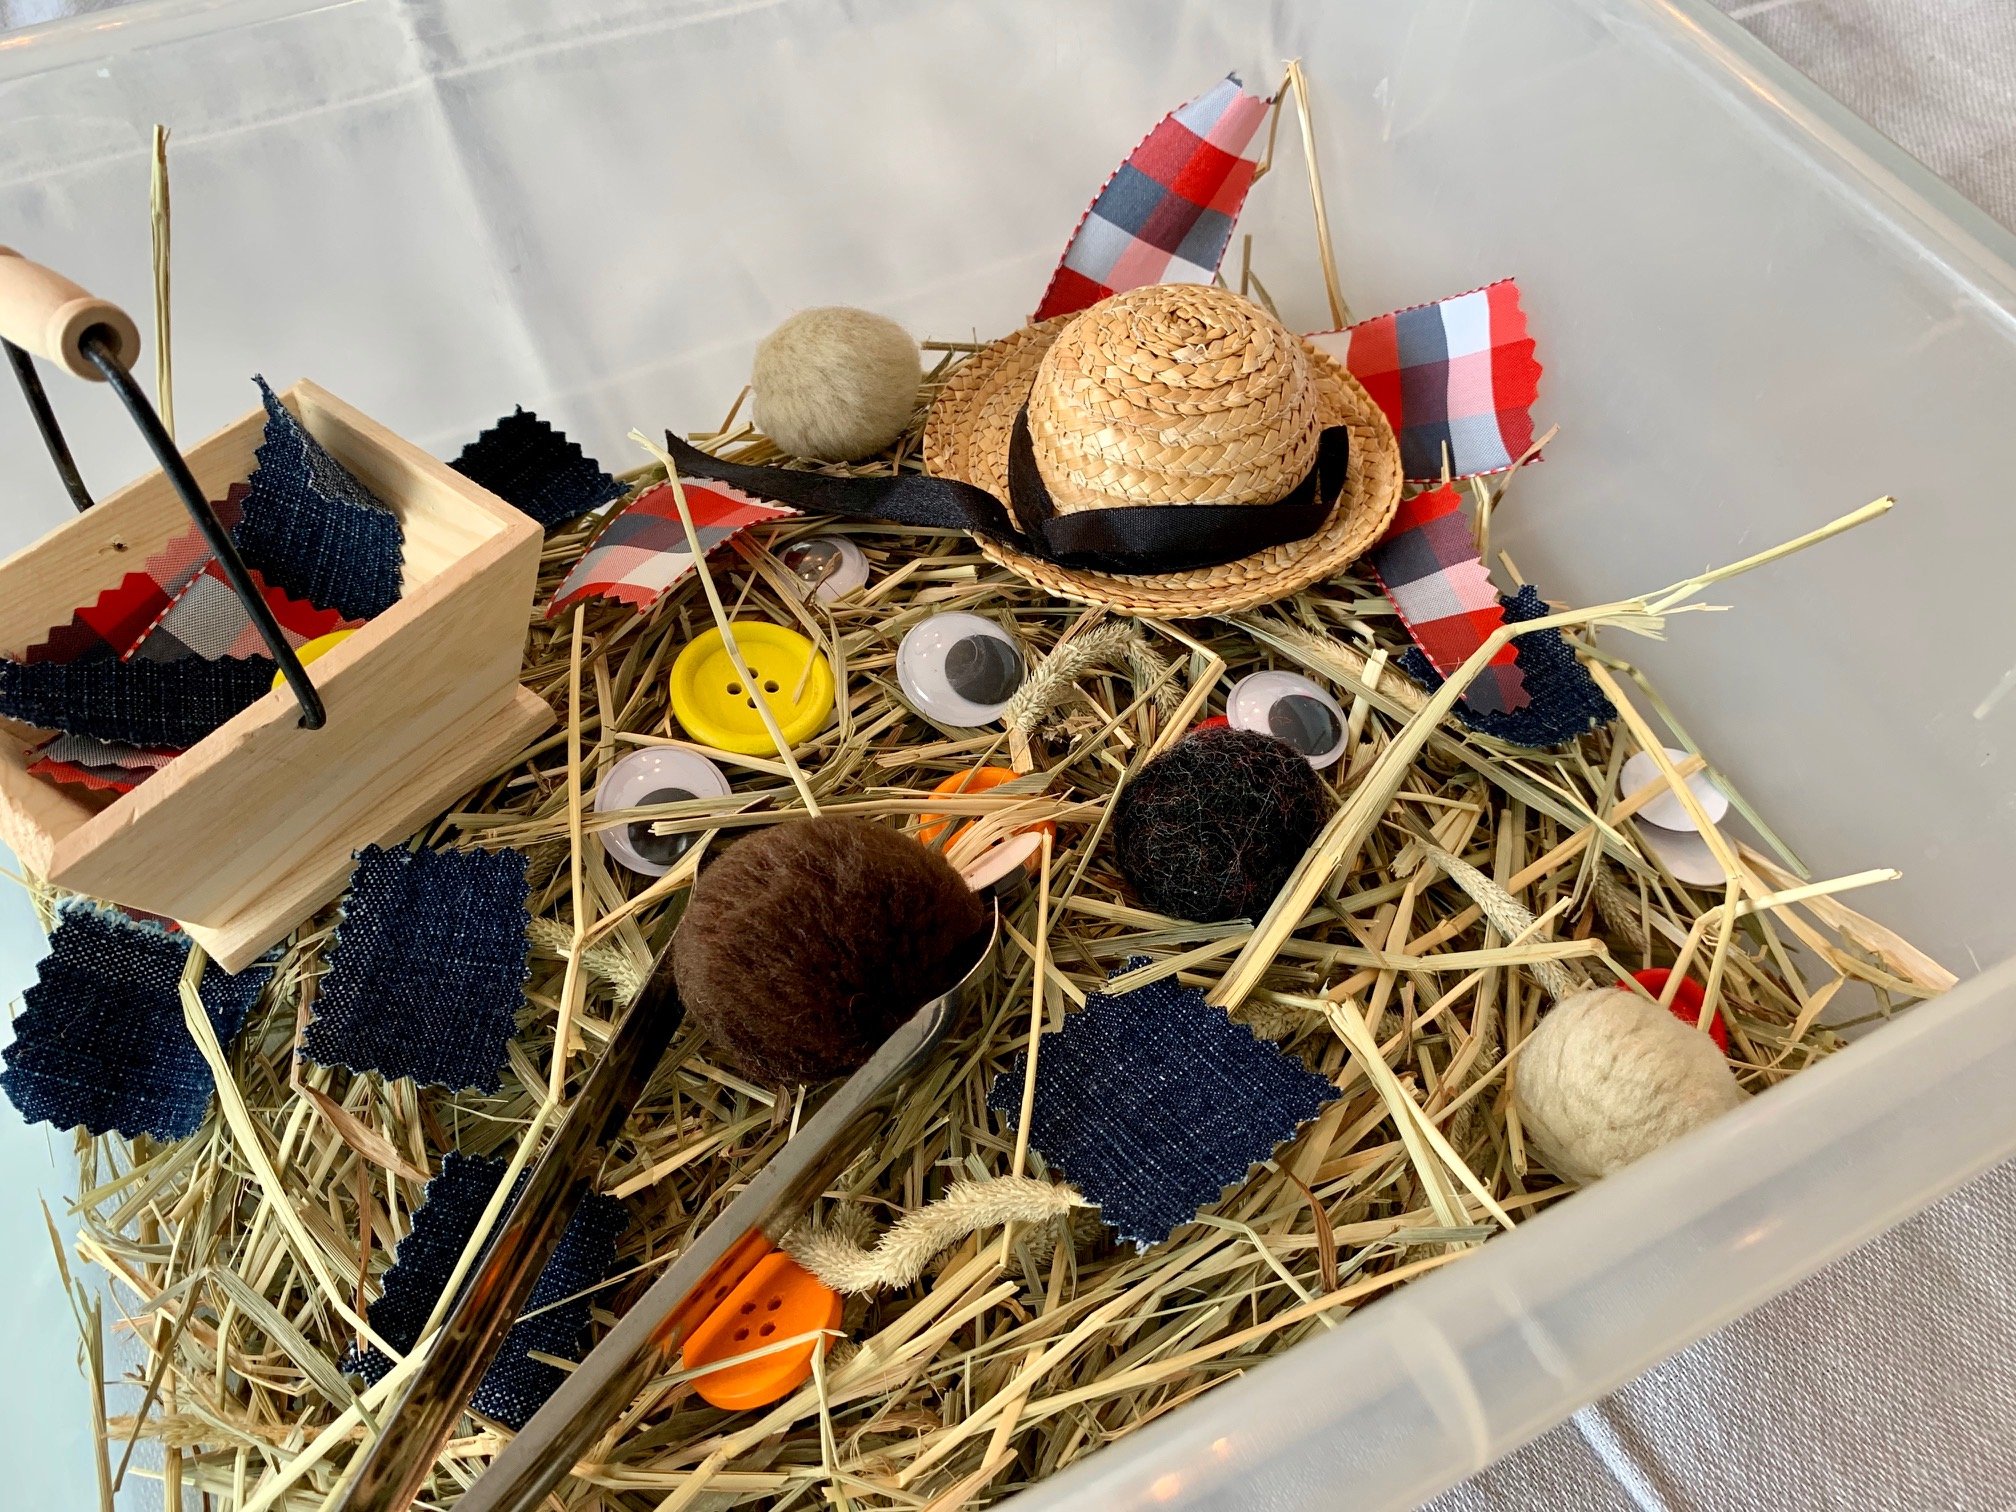
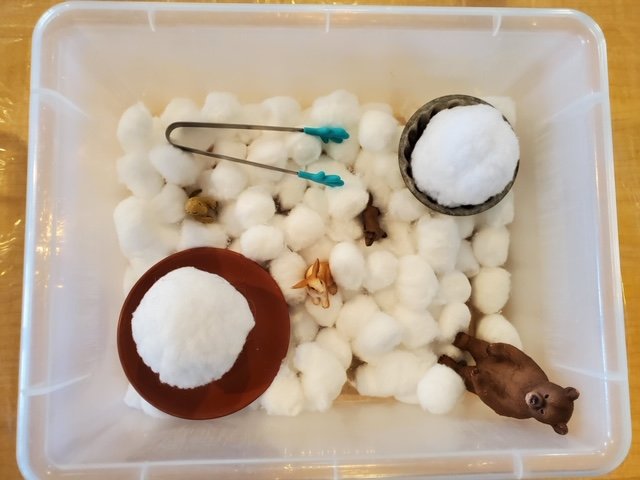
If you’re working with a cardboard or wooden box, or just don’t want to use water this time, other favorite sensory materials at Harmony include beans, corn, pumpkin seeds, rice, pasta, salt, oatmeal flakes, sand, aquarium rocks, cotton balls, cotton batting, craft pom-poms, wooden beads, wine corks, shredded paper, gift bag filler, water beads, organic potting soil, bark, pine cones, rocks, pebbles or seashells.


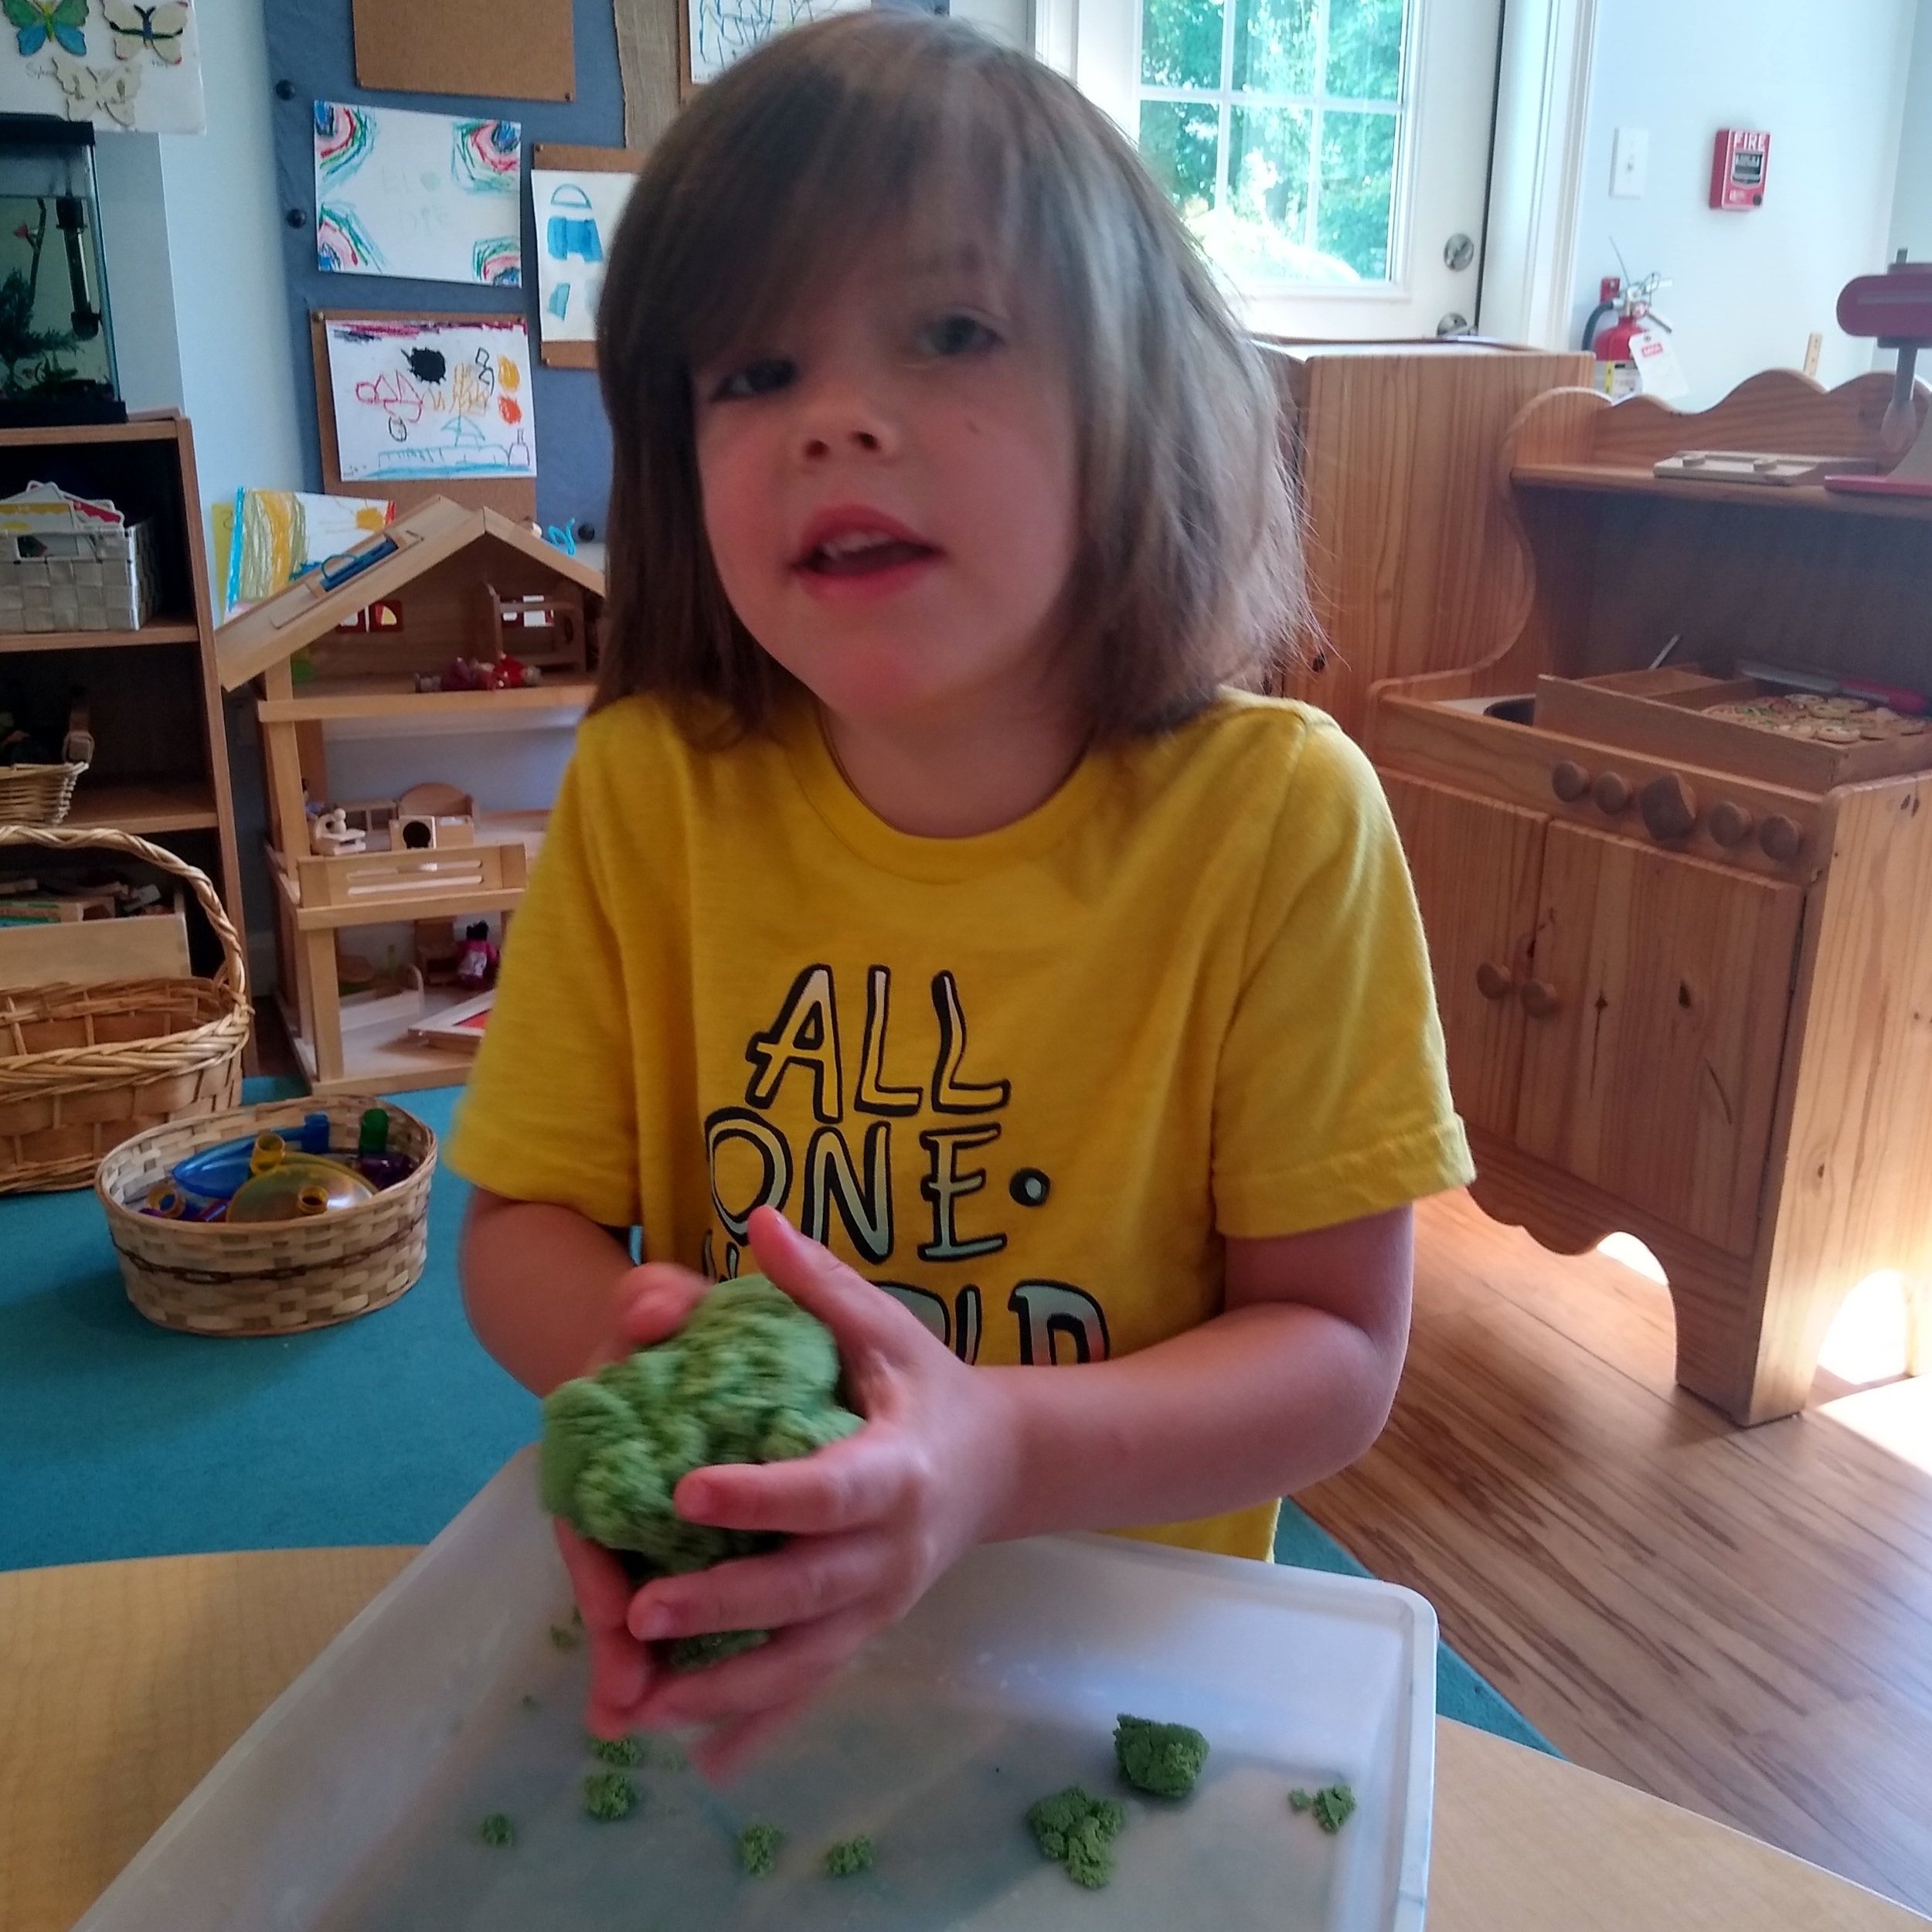
Another particularly engaging sensory material for children is kinetic sand—the moldable, squeezable sand that only sticks to itself and is a breeze to clean up. You can buy it at most big box stores, OR…you can make it yourself with our FREE KINETIC SAND RECIPE.
The main rule of thumb: fill your sensory bin with only one of the above materials—this is your base, and from here, you can move on to step 3…
3. ADD INTERESTING TOOLS
Almost anything from the kitchen will be a winner. Into your new, sensory-material-filled-bin, toss: a whisk, funnel, colander, strainer, spatula, slotted spoon, serving spoon, tongs, garlic press, biscuit cutter, cookie cutters, scoops, bowls, salt shaker, empty containers...whatever you feel will be interesting for your child to use to scoop the material you’re using! Feeling extra-creative? Make your sensory bin themed by adding plastic animals or people figures, plus materials to create a habitat or a small world.
There is no wrong way to present a sensory bin.
If you're feeling worried about mess, lay down a plastic tablecloth before you place the bin on the floor, and have a mini vacuum or dustpan and brush nearby to catch any materials that go astray. Before play begins, review your expectations with your child. Simply saying: "The sensory materials stay inside the bin" and modeling what that looks like will set you on the right foot.
If your child is hesitant to start, he or she may need your help modeling play ideas. Dive right in—scooping, pouring, filling, and dumping—beside your child. Talk to him about what you are doing, seeing, hearing and feeling, then continue on quietly, letting your child observe your play. Ask an open-ended questions that will encourage language. Our favorite phrase? I wonder… "I wonder what would happen if I poured the corn into this funnel while holding it over the bin up high…". Once your child’s imagination takes over, quietly step back from the play and let your child become lost in his own thoughts and ideas.
We hope you enjoy this activity—if you do, don’t forget to tag us on social media (see below), and be sure to download and try the free kinetic sand recipe. Your child will LOVE it!
________________________________________________________________________
We’d love to see any Harmony-inspired moments you capture along your child’s early years journey. Tag us (@HarmonyNLC) on Facebook and Instagram, and use the hashtags #HarmonyNaturalLearningCenter #TheHarmonyApproach #HarmonyNLC
______________________________
Interested in introducing more of The Harmony Approach to your preschooler at home? Check out Harmony at Home (FREE activities available).